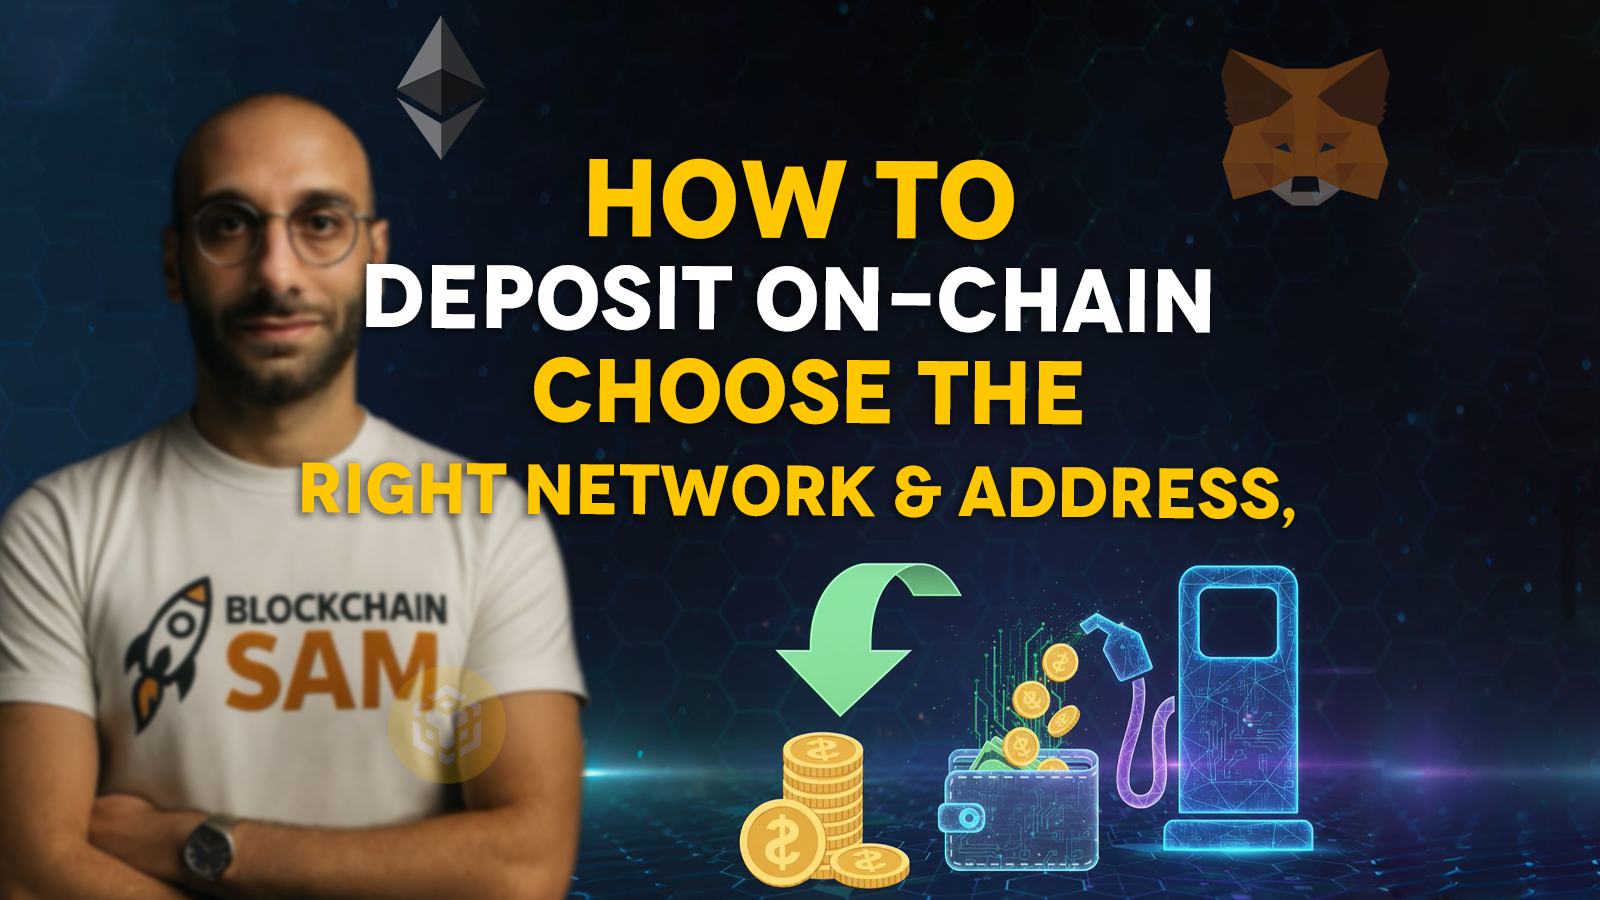
Hey everyone, it’s Blockchain Sam, your trusted crypto guide. Today, we’re tackling a topic that often makes beginners (and even some seasoned folks!) a little nervous: depositing cryptocurrency “on-chain” to an exchange. While buying crypto directly with fiat is straightforward, transferring crypto from one wallet to another, or from another exchange to Binance, involves a few critical steps.
Choosing the wrong network or address is one of the most common and painful mistakes in crypto, often leading to lost funds. My goal in this guide is to equip you with the knowledge to make on-chain deposits confidently and correctly. We’ll cover how to choose the right network, find your deposit address, and most importantly, how to avoid those costly errors.
Let’s dive in and master on-chain deposits!
[Image: A banner image for the article, perhaps featuring a visual metaphor for secure crypto transfer or showing the Binance logo with a network graphic.]
Understanding On-Chain Deposits: Why “Network” Matters
When you send crypto from one place to another, it’s not like sending an email. It’s a transaction recorded on a specific blockchain network. Think of it like sending a package: you need the right address, but you also need to choose the right delivery service (the “network”) that operates in both the sending and receiving locations.
If you send a package via FedEx to an address that only accepts UPS, your package will never arrive. The same principle applies here. The sending network MUST match the receiving network.
Step 1: Navigating to Your Binance Deposit Wallet
Your journey begins on Binance, where you’ll get the details for where you want your crypto to arrive.
- Log In to Binance: Access your account at
binance.com. - Go to Your Wallet: Hover over “Wallet” in the top navigation bar and select “Fiat and Spot” (this is where your main crypto holdings are).
[Image: Screenshot of the Binance homepage, hovering over "Wallet" and selecting "Fiat and Spot".] - Click “Deposit”: On the Fiat and Spot Wallet page, you’ll see a list of your cryptocurrencies. Find the “Deposit” button, usually located at the top-right of the asset list, or next to the specific coin you wish to deposit.
[Image: Screenshot of the "Fiat and Spot" wallet page with the "Deposit" button highlighted.]
Step 2: Selecting the Cryptocurrency and CRITICAL Network
This is the most crucial step. Pay close attention here!
- Choose the Coin: On the deposit page, use the dropdown menu or search bar to select the specific cryptocurrency you want to deposit (e.g., BTC, ETH, USDT, BNB).
[Image: Screenshot of the deposit page, where you select the crypto coin.] - Select the Network (THIS IS VITAL): After choosing your coin, Binance will present you with a list of available networks for that coin. This is where you absolutely cannot make a mistake.
- The network you select here on Binance MUST be the exact same network you use on the platform or wallet you are sending from.
- Example: If you’re sending USDT, you might see networks like
ERC20 (Ethereum),TRC20 (Tron),BEP20 (BNB Smart Chain),Polygon, etc.- If you’re sending USDT from a MetaMask wallet on the Ethereum network, you must select
ERC20on Binance. - If you’re sending USDT from a Tron-based wallet on the Tron network, you must select
TRC20on Binance. - If you choose
ERC20on Binance but send fromTRC20from your external wallet, your funds will likely be lost. There is no going back.
- If you’re sending USDT from a MetaMask wallet on the Ethereum network, you must select
[Image: Screenshot showing the network selection dropdown for a coin like USDT, with different networks listed (e.g., ERC20, TRC20, BEP20) and a warning or emphasis on matching networks.]Pro-Tip from Sam: Some networks have significantly lower fees and faster transaction times than others. For instance, sending USDT via TRC20 (Tron network) is typically much cheaper and faster than ERC20 (Ethereum network). However, always prioritize matching the network over finding the cheapest option if your sending wallet doesn’t support it.
Step 3: Getting Your Deposit Address and Memo/Tag (If Applicable)
Once you’ve selected the correct network, Binance will generate your unique deposit address and sometimes a “memo” or “tag.”
- Copy the Deposit Address: This is a long string of alphanumeric characters. This is where your crypto will go. Always use the copy button to avoid typos.
[Image: Screenshot showing the generated deposit address with a prominent copy button.] - Check for a Memo/Tag (Crucial for Certain Coins): For some cryptocurrencies (like BNB BEP2, XRP, XLM, EOS, etc.), Binance will also provide a “Memo” or “Tag” in addition to the address.
- If a memo/tag is provided by Binance, you MUST include it in the sending transaction. If you forget the memo, your funds will likely be lost or significantly delayed as Binance won’t know which account to credit the deposit to.
- If no memo/tag is provided, you don’t need one.
[Image: Screenshot showing both a deposit address and a memo/tag for a coin that requires one, with a warning.]
Step 4: Initiating the Withdrawal/Send from Your External Wallet/Exchange
Now, switch over to the platform or wallet you are sending your crypto from.
- Initiate a Withdrawal/Send: Find the “Withdraw” or “Send” function for the specific cryptocurrency you are transferring.
- Paste the Binance Deposit Address: Carefully paste the address you copied from Binance into the recipient address field. Double-check the first few and last few characters of the address. Many scam programs can alter copied addresses, so a quick visual check is vital.
- Select the EXACT SAME Network: This is your last chance to confirm! Ensure the network you select on the sending platform matches the network you chose on Binance.
- Enter the Memo/Tag (If Required): If Binance provided a memo/tag, enter it into the corresponding field on your sending platform.
- Enter the Amount: Specify how much crypto you want to send.
- Review and Confirm: Carefully review all details: coin, amount, recipient address, network, and memo/tag. Once you’re certain everything is correct, confirm the transaction. You’ll likely need to complete a security verification (2FA, email code, etc.).
What Happens Next?
- Transaction Confirmation: Your transaction will now be broadcast to the blockchain. You can usually view its status on a blockchain explorer for that specific network (e.g., Etherscan for Ethereum, BscScan for BNB Smart Chain, Tronscan for Tron).
- Binance Notification: Once the transaction receives enough confirmations on the blockchain, Binance will credit the funds to your account and send you an email notification. This can take anywhere from a few minutes to an hour or more, depending on network congestion and the number of confirmations required.
Avoiding Common Mistakes: Sam’s Golden Rules
- RULE #1: MATCH THE NETWORK! I can’t stress this enough. If the networks don’t match, your funds are gone.
- Always Use the Copy Button: Manual entry is a recipe for disaster. Copy and paste.
- Double-Check Address Characters: After pasting, visually confirm the first 4-5 and last 4-5 characters of the address.
- Don’t Forget the Memo/Tag: If required, it’s not optional!
- Start Small: For your very first on-chain transfer (especially with a new network or coin), send a small, test amount first. Once it arrives safely, you can send the larger amount.
- Understand Network Fees: Different networks have different transaction fees. Be aware of these before sending.
Mastering on-chain deposits is a fundamental skill in crypto. By following these steps and paying close attention to detail, you’ll be able to move your assets securely and confidently.
Stay safe out there, and happy transferring!
Blockchain Sam
Disclaimer: This article is for educational purposes only and should not be considered financial advice. The cryptocurrency market is highly volatile, and you should do your own research (DYOR) before making any investment decisions.